Magnetic advent calendar – quick and easy!
The advent calendar is an inseparable part of Christmas. Some of us prefer a chocolate treat for every day, while others prefer jute bags with a miniature surprise. And since Christmas is slowly approaching, we at www.orodian.com could not do without our own advent calendar – magnetic, of course.

Quick and easy!
This was the main condition when inventing our advent calendar, since time is short and work is plenty.
What will you need?
- Office paper or drawing (3 pcs)
- Colouring pens / markers
- Pencil and eraser
- Metallic adhesive tape (50 centimetres)
- Frame
- Scissors
- Self-adhesive magnets (24 pcs)
- Glue
Procedure:
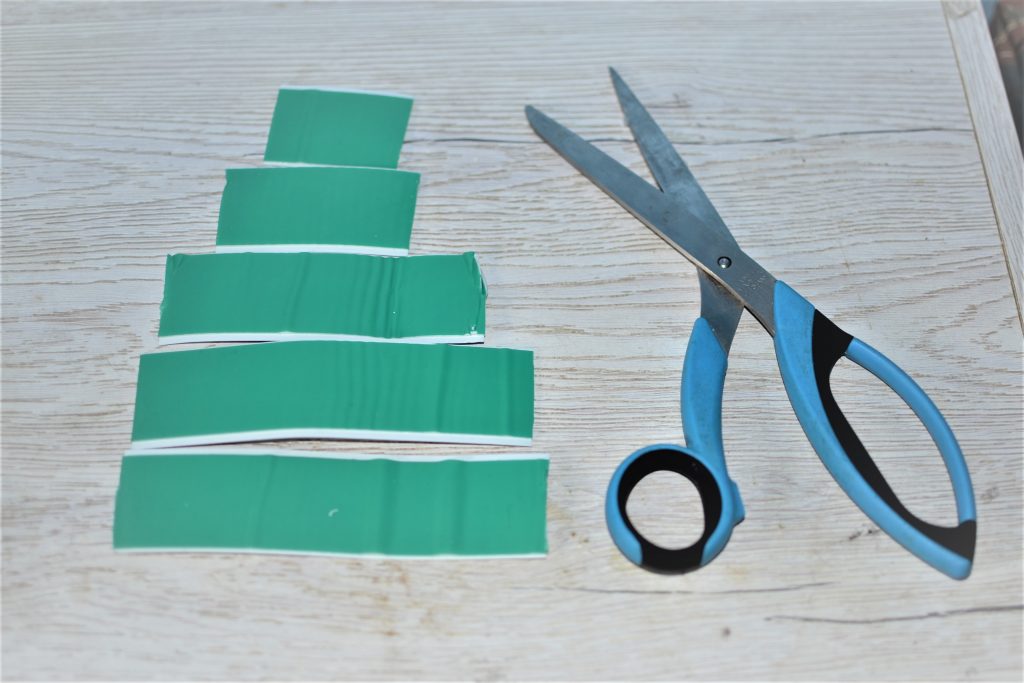
Draw a Christmas tree on one piece of paper and Christmas decorations on the other. If you are not among the artistically skilled, you can surely find interesting pictures on the Internet.

Stick a self-adhesive magnet on the back of each decoration. A magnet with a thickness of 1 mm or less will do. Choose the size of the magnet according to the size of the decoration. You can use, for example, the following magnets:
As an alternative to magnets, you can use A4 magnetic sheet, which can be cut with scissors. You can cut pieces from it so that they exactly copy the shape of the decoration.
-
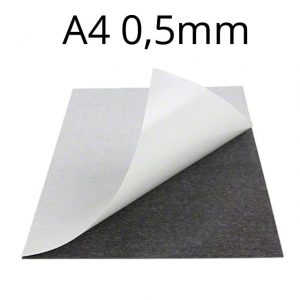 Self-adhesive magnetic sheet A4, thickness 0.5 mm – black
From 1 pcs: 2,45€ From 5 pcs: 2,10€ From 20 pcs: 1,99€ From 50 pcs: 1,79€ Ask from 200 pcs.
-
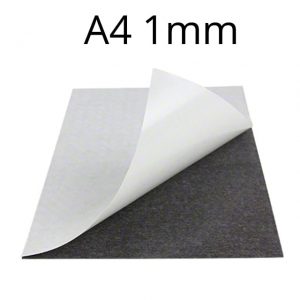 Self-adhesive magnetic sheet A4, thickness 1 mm – black
From 1 pcs: 4,40€ From 5 pcs: 3,75€ From 20 pcs: 3,49€ From 50 pcs: 3,29€ Ask from 200 pcs.
Mark the individual days on the tree with a pencil so that the 24th appears at the top of the tree like a star:

Next, prepare the metal adhesive tape. Be careful when handling it, as you can easily cut yourself on it. Cut the necessary lengths so that they cover the entire tree. Stick the metal tape on clean paper.
Connect the clean paper with metal strips together with the paper on which there is a tree and glue their sides.

Place the joined papers in the frame. The frame can also be adorned with Christmas lights.

Your magnetic advent calendar is ready!
You can find the metal tape for this project in the magnetic and metal tapes category:
-
 Metal self-adhesive tape, 35×1.15 mm (1 metre) – white
From 1 pcs: 3,99€ From 5 pcs: 3,79€ From 25 pcs: 2,99€ From 75 pcs: 2,89€ Ask from 100 pcs.