How do you make a magnetic makeup frame?
When the love of cosmetics is combined with magnetic attraction, beautiful and useful things can be created.
We will show you step by step how to turn an ordinary photo frame into a practical cosmetic organizer. And the forever scattered cosmetics will finally have their place.
1st step: Preparation of material

You only need a few things:
- photo or picture frame – the bigger it is, the more products you can fit on it. We used a black thick frame with space for several photos.
- thin sheet metal – you can find it in a hardware store, metal works, or large chains (OBI, Hornbach) or in a store with creative supplies
- magnetic adhesive tape – in our e-shop you can find tapes of various widths
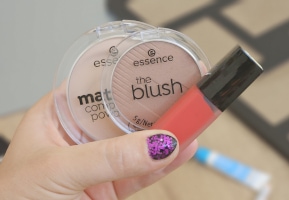
- your favourite beauty products
2nd step: Removal of wood veneer or glass
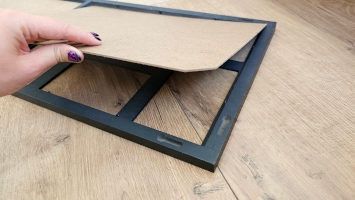
The back of the frame contains a thin wood veneer and sometimes glass. We will remove both parts and use the veneer again in the next step. We no longer use the glass.
3rd step: Adding metal sheets (sheet metal)
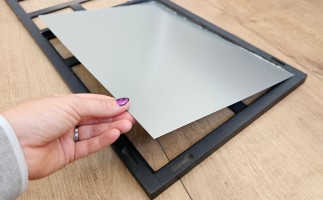
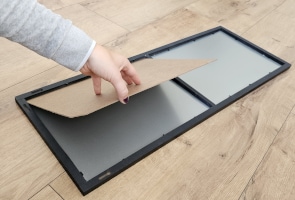
A thin sheet (1 mm) is sufficient for our purposes. But the thicker the sheet, the better the magnetic tape will stick to it. The sheet should be made of magnetic material, because, for example, the magnetic tapes will not hold on an aluminium (commonly available) sheet. You can easily find out whether the sheet is magnetic – take any magnet with you to the store, for example a souvenir one, and place it next to the sheet.
Measure the correct size of the metal plates according to the wooden veneer on the back of the frame. To cut the right size, we can use sheet metal scissors, a carbon grinder, or we can ask the metalworking employees if they would cut the sheet for us.
We return the wooden veneer back to the frame. It will be more solid with it.
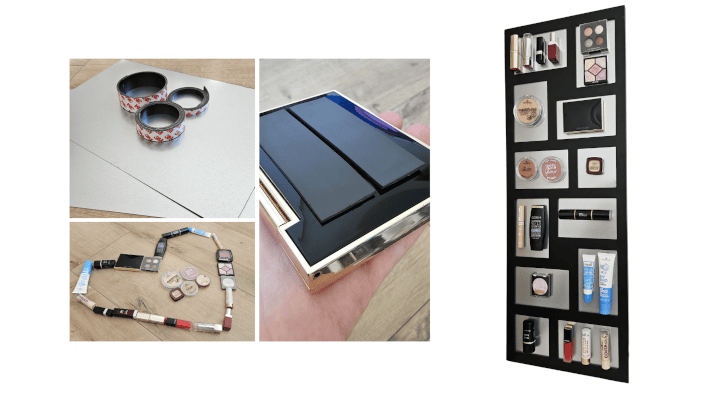
4th step: Cutting and pasting the tape
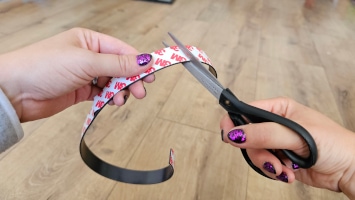
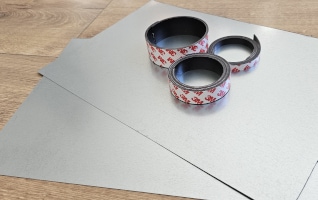
We cut short pieces from the magnetic tape. The back of the tape has a self-adhesive layer that can be stuck on make-up products. We choose their width and length according to the size and weight of the product. If the product is larger and heavier, we choose a wider tape. 10 mm tape is more suitable for light and oval products.
If they fit, we can stick two tapes under each other. This will increase the force with which the make-up will be attracted to the sheet.
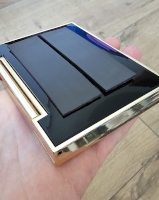
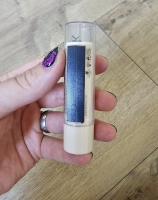
5th step: Storing cosmetics in the frame
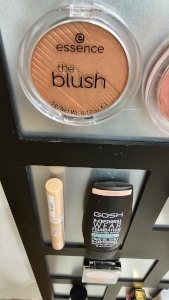
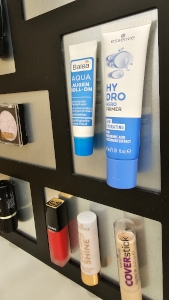
Now we can store cosmetics in the frame. When we are satisfied with the result, we find the right place for the frame – on the dressing table, in the bathroom or hang it on the wall.
Certainly none of your acquaintances will have such a picture 🙂 .
And how did we manage to make the magnetic make-up frame? Watch the video: